

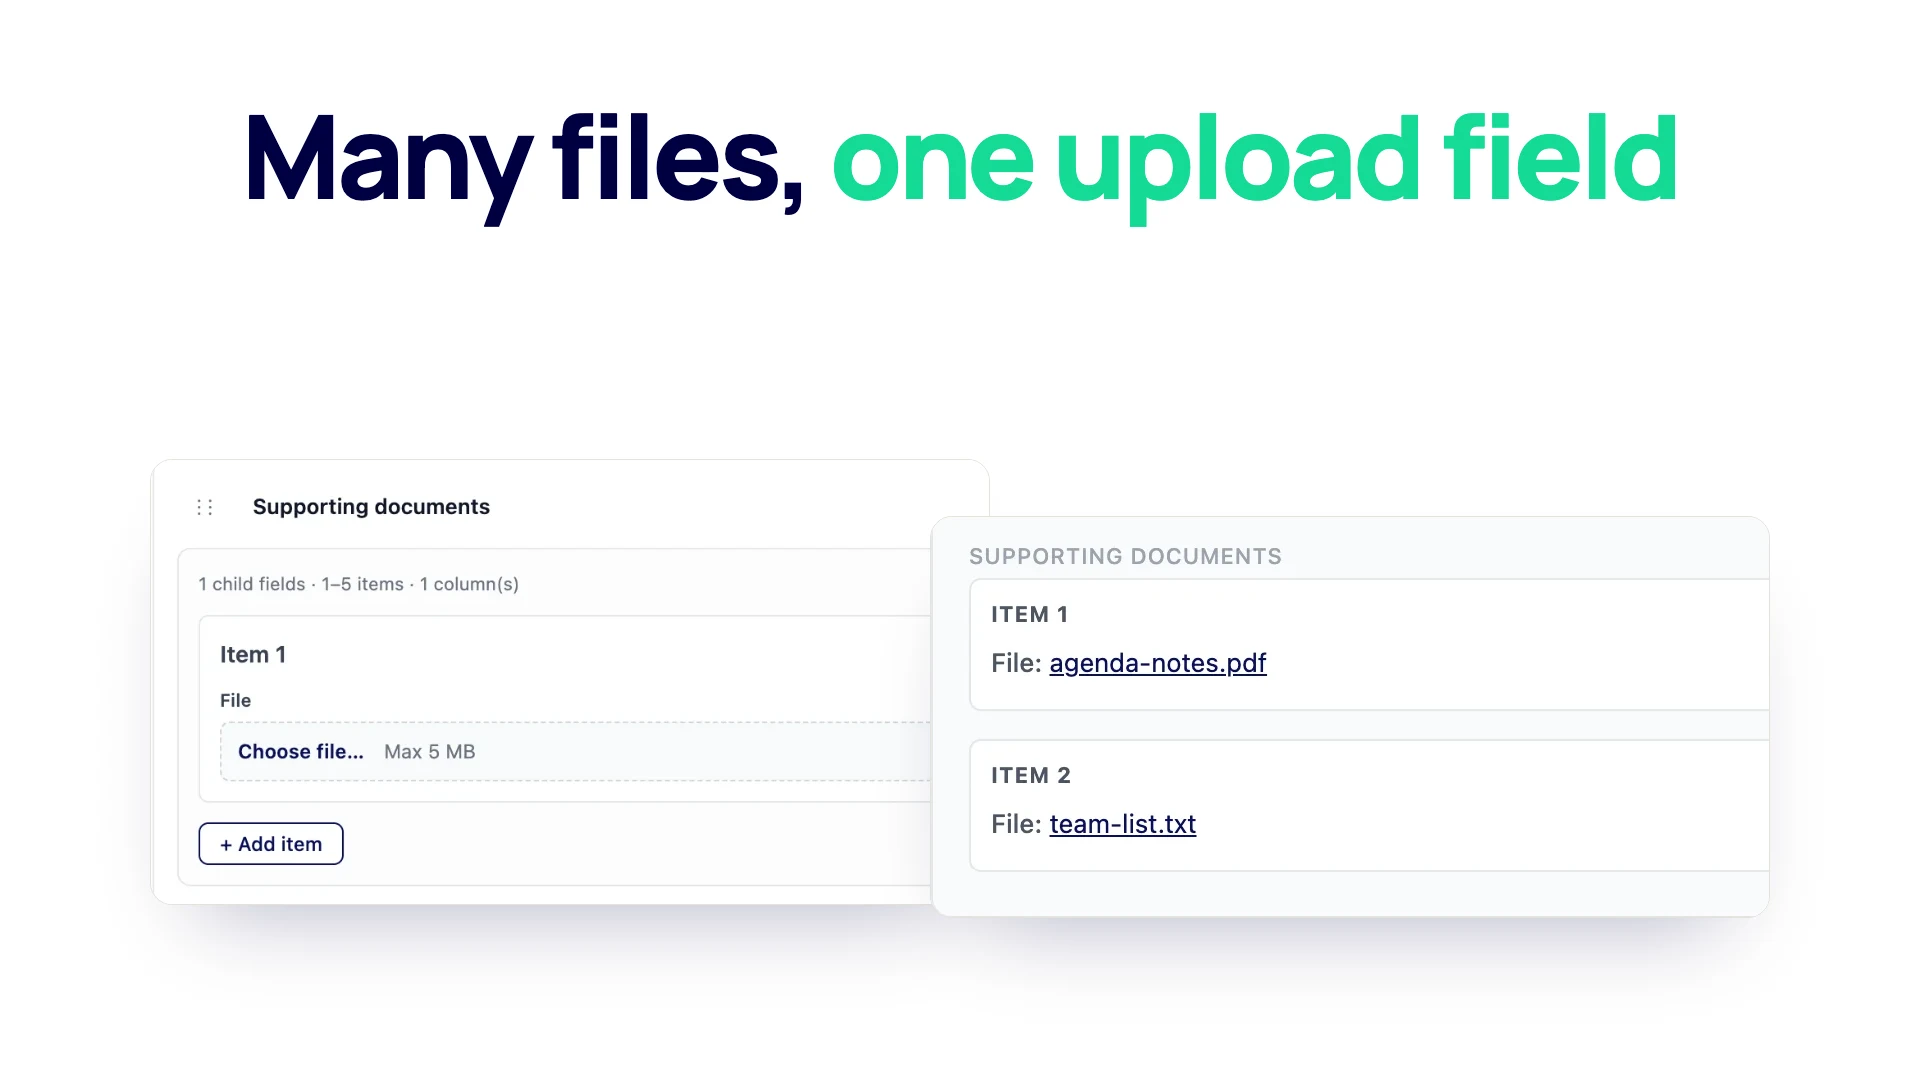
Job applications need a CV and a cover letter. Insurance claims need photos and a receipt. Quote requests come with drawings. This guide shows two working ways to collect several files on one form on a WordPress site, what file types and sizes to allow, where the files end up, and how to get them out again.
Both patterns use Neural Forms. The first works on the free plugin; the second uses the Repeater field from the Starter ($99 a year) and Agency ($199 a year) plans.
One file per upload field: how Neural Forms handles uploads
Many form plugins add a “multiple” switch to the upload field. Neural Forms takes a different route: each File Upload field accepts one file. To collect several files, you either add several upload fields or let the visitor repeat one.
That sounds like a limit, and in one way it is: a visitor cannot select five photos in one go. In return, every file arrives with a label you chose (“CV”, “Cover letter”, “Photo of the damage”), so nobody on your team has to open each attachment to work out what it is. Pick the pattern that matches how predictable your documents are.
| Your situation | Use |
|---|---|
| You know exactly which documents you need | Option 1: one File Upload field per document (free) |
| People send a different number of files | Option 2: a repeater with a File field (Starter or Agency) |
| Both: some fixed documents plus “anything else” | Fixed fields for the required ones, a repeater for the extras |
Option 1 (free): a separate upload field for each document
This is the right pattern for most job applications and claims, where the list of documents is known.
- Open the form in Neural Forms > Forms and drag File Upload onto the canvas.
- Label it after the document, for example “Your CV”.
- Tick Required if you cannot process the form without it.
- Under Allowed file types, tick only what makes sense for that document.
- Set Maximum file size (MB) if the default of 5 MB does not fit.
- Repeat for each document: “Cover letter”, “Portfolio (optional)”.
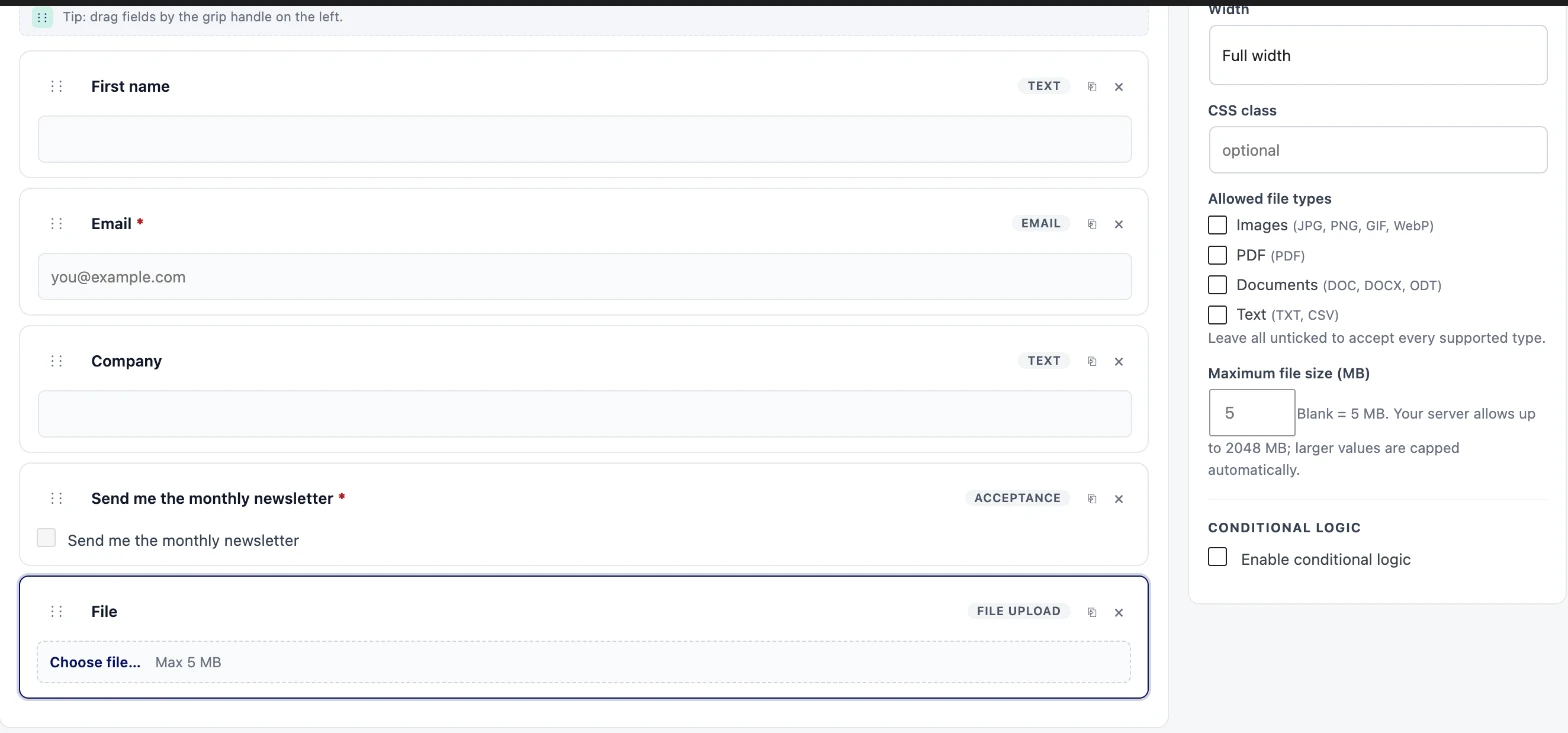
Because each field has its own settings, you can be strict where it helps: PDF and Documents for the CV, Images only for a photo of the damage, a larger size limit for a portfolio. A required CV field and an optional portfolio field also tell the visitor exactly what you expect, which is clearer than one box that says “upload your files”.
For a job application, a good set is CV (required, PDF and Documents), Cover letter (optional, PDF and Documents) and Portfolio (optional, PDF and Images). The job application form page shows a complete layout.
Option 2 (Starter and Agency): a repeater with a file field
When the number of files changes from person to person, a repeater field lets visitors add as many as they need, up to the maximum you set.
- Drag Repeater onto the form and label it, for example “Supporting documents”.
- Under Child fields, add a File field and label it “Document”. Add a Text field “What is this?” next to it if you want a short description per file.
- Set Minimum items (1 if at least one file is required, 0 if not) and Maximum items. The maximum can be up to 20.
- Rename the buttons: Add button label to “Add document” and Remove button label to “Remove”.
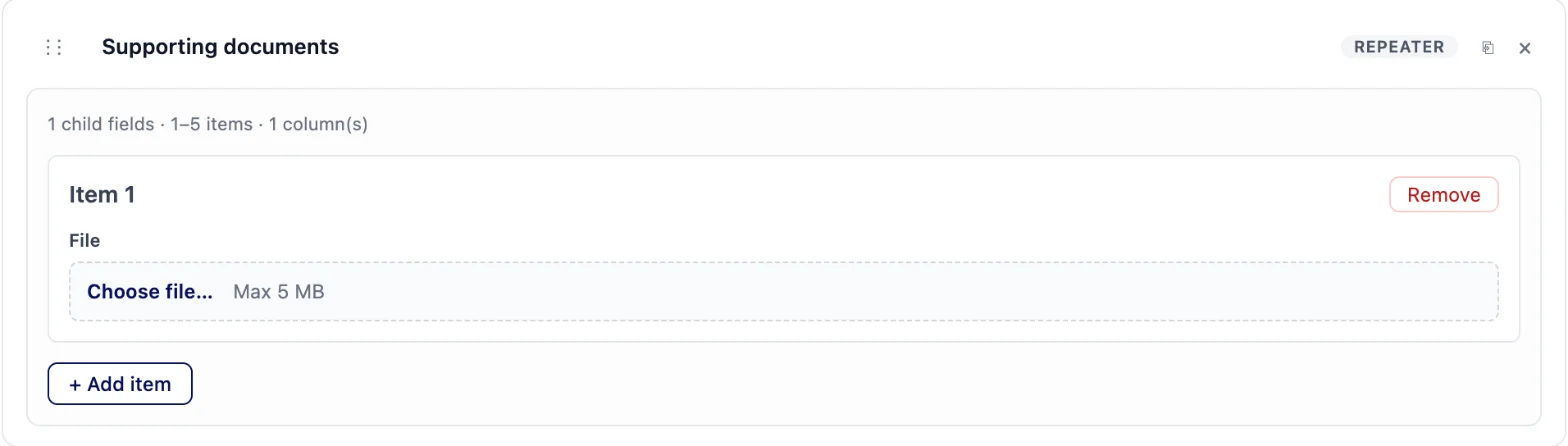
On the page, the visitor sees one upload field and an “Add document” button. Each click adds another upload field (and description, if you added one), until the maximum is reached and the button disappears.
One detail to know: a File field inside a repeater has no type or size settings of its own in the builder. It accepts every supported type (the four groups below) at the default 5 MB limit, or less if your server’s limit is lower. If you need tighter rules, use separate upload fields (Option 1) for the documents where it matters.
The full repeater walk-through is in how to add repeatable field groups to a form.
Allowed file types and size
Neural Forms accepts four groups of file types:
| Group | File types |
|---|---|
| Images | JPG, PNG, GIF, WebP |
| Documents | DOC, DOCX, ODT |
| Text | TXT, CSV |
Leave all groups unticked on a File Upload field to accept every supported type, or tick the groups you want. Files outside the allowed types are rejected with the message “file type not allowed” next to the field. ZIP files, spreadsheets other than CSV, and video are not in the list, so ask for those another way.
Size. The default limit is 5 MB per file. You can raise or lower it per field, but it can never go above your server’s own upload limit, and Neural Forms caps it there automatically. The builder shows your server’s limit under the size box. PHP’s own default is 2 MB (many hosts raise it), and a “20 MB” setting on a 2 MB server still stops at 2 MB.
To raise the server limit, increase two PHP settings, upload_max_filesize and post_max_size, in your hosting control panel or php.ini, or ask your host. When one form carries several files, they are sent together in one submission, so post_max_size needs to cover all the files added up, not only the largest one.
The visitor’s browser checks the size before sending, so people see the problem straight away instead of after a long upload.
Where the files are stored
Uploaded files go into the WordPress Media Library under /wp-content/uploads/, saved as private attachments. Each file is renamed to nf- followed by 32 random characters, so a link cannot be guessed from the original name. The original file name (for example jane-doe-cv.pdf) is kept with the entry, so you still see it in the inbox.
Private here means the file does not appear in the public WordPress media listing that anyone can query. The file itself is still served from its random URL, which is how the download link in your inbox works. Anyone who has that exact link can open the file, so do not paste file links into public places.
Getting the files out
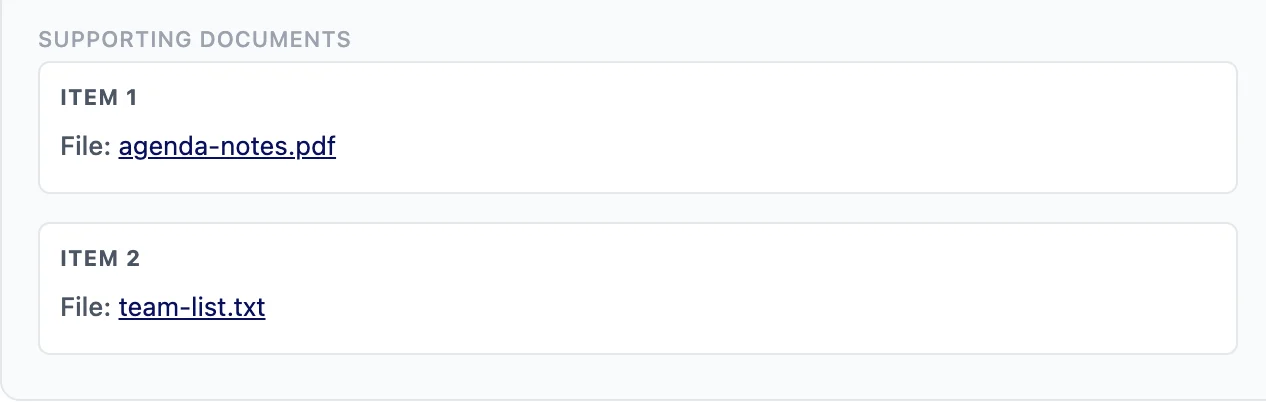
In the entry view. Each upload field lists its file name as a download link, with the file size next to it. Files uploaded inside a repeater show as links under each numbered item.
In the CSV export. Go to Neural Forms > Entries, choose the form, and click Export CSV. Each upload field becomes two columns: the file name and the file’s URL. In a repeater, each set gets its own pair of columns. One export holds up to 5,000 entries, and you can limit it by date range (all time, last 7 days, last 30 days, this month or last month). The CSV holds links, not the files themselves, so use the URLs to download them.
Privacy: removing someone’s files
If a person asks you to delete their data, use the tool built into WordPress: Tools > Erase Personal Data, with their email address. Neural Forms finds their entries by the email in the submitted data and deletes the entries, their reply threads, AI drafts and every uploaded file, including files inside repeaters. Tools > Export Personal Data finds the same entries when someone asks for a copy.
Deleting an entry by hand from the inbox is a different action. In the current version, only the privacy eraser removes the files, so if you delete entries yourself, also delete their files from the Media Library or the uploads folder (their names start with nf-).
If you collect documents like IDs or medical forms, mention the upload in your privacy policy. Neural Forms adds suggested text under Settings > Privacy that you can adapt.
FAQ
Can one upload field accept several files?
No. In Neural Forms each File Upload field takes one file. Add one field per document, or use a repeater with a File field (Starter or Agency) so visitors can add up to 20.
What is the maximum file size?
5 MB per file by default. You can change it per upload field, but it is always capped at your server’s upload limit, which you can raise in your PHP settings or through your host.
Where are uploaded files stored in WordPress?
In the Media Library under /wp-content/uploads/, as private attachments with random 32-character names. The entry keeps the original file name and a download link.
Are uploaded files public?
They are hidden from the public media listing and their names cannot be guessed. The file is still served from its random URL, so anyone who has that exact link can open it.
Can I export uploaded files?
The CSV export includes the file name and URL for every upload, so you can download the files from those links. The files themselves are not packed into the CSV.
Collect the right files
Separate upload fields work on the free plugin. For a flexible number of documents, the Repeater field with a File field is part of Neural Forms Starter and Agency, both for unlimited sites.

Leave a Reply